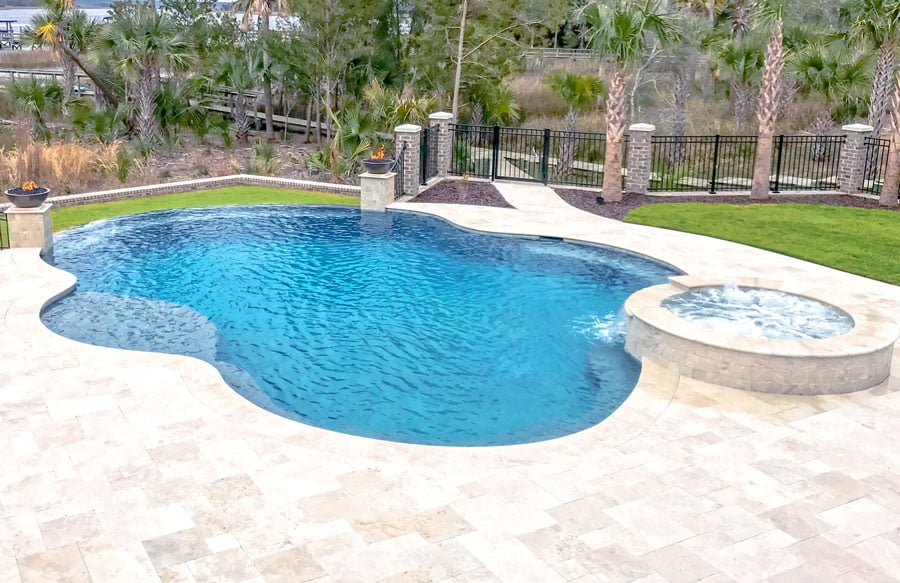
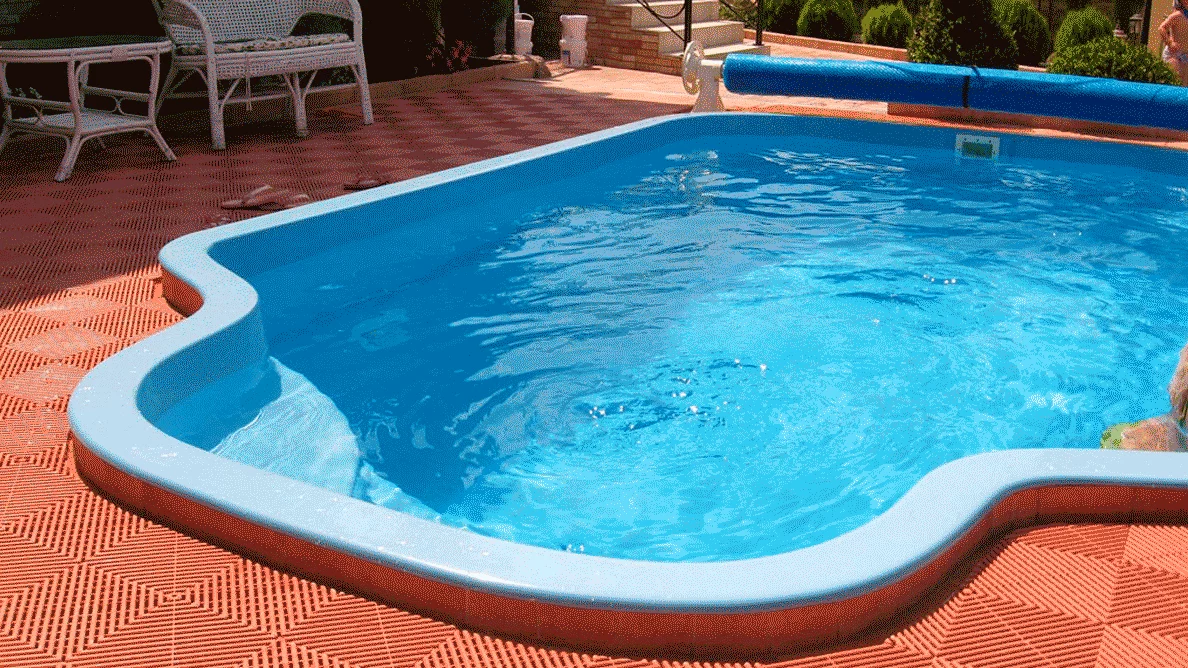
Recommendations for the construction of the bowl To put it mildly, the not very favorable financial situation in the country contributes to an increase in the number of customers who want to build a concrete bowl on their own with the involvement of affordable laborers, and connect pool specialists to the project only at the stage of facing and installation of equipment.
 Conceptually, this approach is absolutely correct – why not involve subcontractors to perform standard general construction work and pay for the more expensive labor of highly specialized workers. But, unfortunately, there are more and more customers who have lost money on such a concept, since the built bowl, at best, requires additional preparatory work before lining, and at worst, it simply breaks under its own weight even without water. Moreover, many owners of such bowls are surprised at the question of having a pool project, considering it an absolutely unnecessary document.
Let us consider in more detail and step by step the most popular construction option for the construction of an outdoor outdoor pool with a concrete bowl. Please note that the material below is provided for informational purposes and cannot be used as a clear and the only possible option for building a pool bowl. Each pool is an individual hydraulic structure, which must be calculated for each owner personally.
Geodesy Step 1
The first thing to be done is a geological survey of the planned site for the construction of the pool bowl. Only after an affirmative answer from a specialist geologist about the possibility of building a bowl at this place does it make sense in any further actions.
If you make a reservation, then, in principle, today there are all the technologies to build a pool with a concrete bowl in almost any conditions and on any soil, the only question is the price of this solution.
Depending on the complexity of the soil, the cost of a pool bowl of equal size can differ significantly.
Site preparation Step 2
On the selected site, a pit is dug wider by 50-80 cm and deeper by 60-80 cm than the outer dimensions of the pool bowl (1). At the bottom of the finished pit, a sand or sand-gravel cushion 15-30 cm thick is poured, on which concrete preparation 10 cm thick is laid (2).
For convenience, the concrete preparation slab should be 5-20 cm wider than the outer dimensions of the pool bottom. groundwater (3).
We recommend installing a waterproofing material on the concrete base so that after the completion of the concrete work, its edges can be brought to the walls of the pool (4). For these purposes, you can use dense PVC films or coating bituminous mastics.
The structure of the concrete bowl Step 3
On top of the obtained sand-concrete preparation, it is necessary to build a frame of a concrete bowl. The main material for the construction of the frame is iron reinforcement. The diameter of the reinforcement and the cell pitch are calculated in the pool design, based on its dimensions and the conditions for placing the bowl. In the bowls of small private pools, as a rule, fittings with a diameter of 8-10 mm are used in increments of 10-30 cm. It is important not to use welding at the intersections of the fittings, but only connections with knitting wire with a diameter of 2-3 mm.
In the places of welding, the microstructure of the metal is disturbed, which in the future can become a source of corrosion, and the lack of play between the welded fittings will create additional stress in the structure of the bowl (5).
The fittings laid in the bottom slab of the pool are brought out along the perimeter beyond the edges of the slab for its fixation in the walls of the bowl. It is also important to leave technical windows in the reinforcing frame, according to the pool project, for further installation of plastic or metal embedded parts of the water exchange system and attractions in them.
Installation of mortgagesStep 4
Installation of embedded parts can be performed both before pouring concrete, and after that. In the first case, the embedded parts are fastened with metal wire to the reinforcing cage, in the second, technological windows are left in the formwork and frame, and the embedded parts are mounted already in the bowl with the hardened concrete of the walls and bottom.
The first option is technically more correct, but without proper experience during pouring, mortgages can move and freeze unevenly in concrete. In the event that the project provides for bottom water supply nozzles or pipelines, they must be installed before pouring concrete and tested for tightness.
Pouring the bowl Step 5
Depending on the size of the pool bowl, its location and the availability of equipment, both continuous pouring and pouring in two stages can be used. Continuous casting is a guarantee of the best result and a high quality monolithic structure.
On the other hand, this type of pouring requires technical means, and a truck-mounted concrete pump, concrete mixers and submersible vibrators are not always available for the construction of small private pools. In the absence of the above technical solutions, the bowl is poured in two passes: the bottom plate of the pool at the first stage, and the walls of the bowl at the second.
When pouring the bowl in two stages, a so-called cold joint is formed at the junction of the pool wall with the bottom plate of the pool (already frozen). In this place, water can penetrate into the thickness of the concrete and destroy it with temperature fluctuations. In order to avoid such situations, it is recommended to lay a self-expanding cord with a diameter of 2-5 cm in this place, which, when it enters the water, expands six times or more to protect this place from water from outside.
Waterproofing the bowl before facing Finished pool
After pouring the bottom slab of the pool, reusable or disposable formwork is used to fill the walls. For small pools, one-time formwork made of boards and plywood can be used without any problems. The amount of additional work for plastering and leveling the bowl will ultimately depend on the accuracy of the constructed formwork.

Bowl lining materialsStep 6
After pouring, the pool bowl is leveled with plaster, and it is recommended to isolate the outer walls of the bowl with coating waterproofing to minimize the ingress of water from the outside into the concrete structure. The volume of internal waterproofing depends to a large extent on the material of the pool lining. For pools lined with tiles or mosaics, the internal waterproofing of the bowl is very important, as neither tiles nor mosaics are waterproofing materials.
In bowls with this type of cladding, after plastering, it is necessary to carefully waterproof, test the bowl for the absence of leaks, and only then proceed with its cladding. The disadvantage of this solution is the difficulty of finding the place of the leak in the bowl.
If a PVC membrane, better known as a liner, is chosen as the lining material, the external waterproofing of the bowl can be omitted, since the liner soldered to the size of the bowl is a waterproofing and facing material at the same time. This option is the easiest to build, operate and repair.
If a leak is detected today or even five years later, it will take only a few tens of minutes to several hours of work to fix it.
Step 7
Filling the bowl with water
Upon completion of the facing work, the pool bowl is ready for operation, you just have to mount and start the water treatment equipment and enjoy your own pool.
With this material, we want to draw your attention to the issue of quality and consistency of all stages necessary to achieve a good result. Do not trust these works to builders of unknown origin who do not have adequate understanding and basic theoretical skills in concrete work.
Such “builders” certainly will not save your money, but will probably only add to your problems. Contact specialists at least to receive the project, supervise and control the work performed.
